

So chocolate is the best thing in this world. We all know this. But did you know that making vegan chocolate mousse is actually really easy and satisfying?
The only hard thing about this recipe is waiting for it to cool off before eating. I know coconut can be intimidating to some people and personally I’m not a huge coconut fan, but in this recipe you can’t really taste it and you just get the creaminess!
There are two ways to make this, pretty much with the same ingredients. Basically the difference is that in one you heat up the chocolate and in the other you heat up the coconut cream, and in the other you have to prepare in advance a little. The first one is a little easier to make and has more of a pudding consistency, while the second one is a bit harder to make and comes out a little more moussey (so you can pop it out of the mold, which you probably can’t with the first), but both taste great!

Topped with halva strings
So here we go:
Ingredients for both recipes:
-One can coconut milk/cream (full fat, lite ones will not work)
-About one cup (or less if you want a lighter and less rich result) dark chocolate (60%-70%, depending on how sweet you like it)
-Pinch salt
Method #1 – quick version, slightly more pudding-y (from Orli Gruber in Zebarie, in Hebrew):
1. Heat up the coconut milk in a pot, bringing close to a boil
2. Turn off heat and mix the salt and chocolate in, stirring while it melts.
3. Let cool for a bit off the stove, stirring occasionally.
4. Pour into serving bowls/cups (I would not recommend using muffin molds for this, as it won’t really pop out and you will eat it straight out of the mold), cover with plastic wrap and leave to cool.
Method #1
Method #2 – slightly more mousse-y (from Pink Lady in Hebrew):
1. What you’re going to attempt is to make coconut whipped cream. At least one night in advance (you can do this also a few days in advance or whenever) place the can in the fridge, upside down. (tips about this whole process at the end)
2. While in the fridge, the coconut milk will separate and some of it will become solid. What you want is to get those solid parts and whip them alone. Before starting you might also want to place your mixing bowl and whisk in the freezer for a little while.
3. Melt the chocolate in a double boiler, and towards the end add the pinch of salt. Set aside to cool a little.
4. Take out the coconut milk (after it spent the night in the fridge), open (since it was upside down the solids will form on top) and carefully scoop out the solids (you can use the liquid for smoothies or whatever else) into your cold bowl.
5. Using a whisk or an electric mixer start WHIPPING! About 1o minutes or until you’re sick of it. Honestly, mine didn’t become totally whipped-cream-like, but the recipe still worked.
6. Mix the chocolate into the coconut, and mix well to combine.
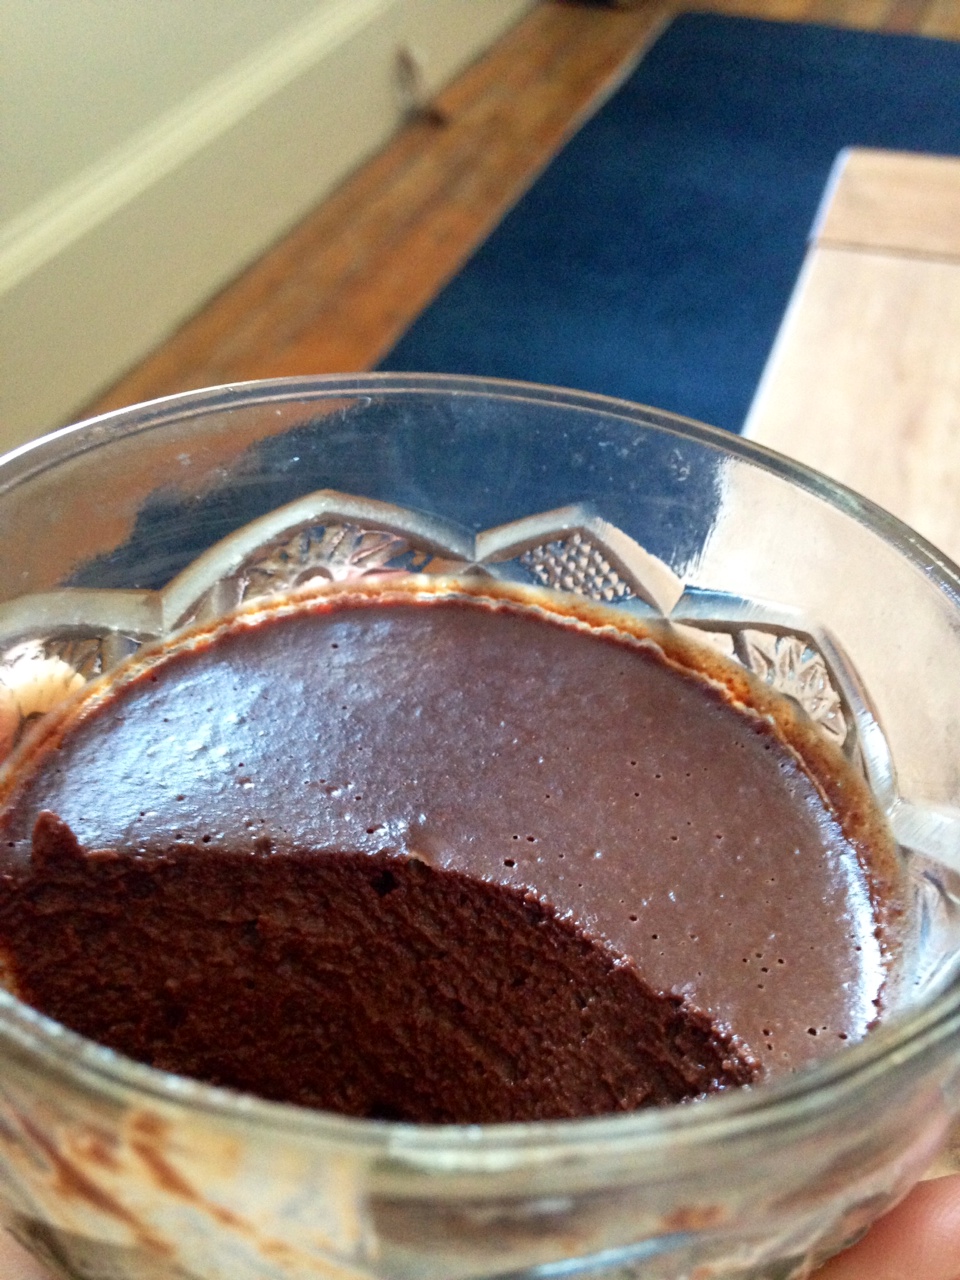
7. Spoon into containers, cover with plastic wrap, and place in the fridge for a few hours. The lovely mousse you see in the picture came out of a little rubber muffin mold, which gave it its nice shape. You can also use small cups but then you might want to eat them straight out of the cup since it might be hard to pop out.
8. If you want you can sprinkle unsweetened cocoa powder on top.
(Tip: the result with the coconut milk depends a lot on the brand you’re using and so there can be some trial and error. Oh She Glows has a detailed explanation about making coconut whipped cream, which can also be used as regular whipped cream so you should definitely check it out)

Method #2
A few ideas for upgrades (add when adding salt):
-Add a tiny bit of brandy or other alcohol of your choice
-Add a teaspoon of instant coffee
-Add a bit of your favorite extract, almond, peppermint, orange..
-Add a tbs of orange zest
-Top with crushed nuts, shaved chocolate, or any other topping you like. Really upgrades the look and tastes good!
